

 English
 Русский
 Turkish
 Português (Brasil)
 한국어
한국어 العربية
 Español
 ไทย
ไทย Tiếng Việt
 中文
中文 Deutsch
 Bahasa Indonesia
 Italiano
 日本語
日本語 Polski
 Українська
 فارسی
فارسی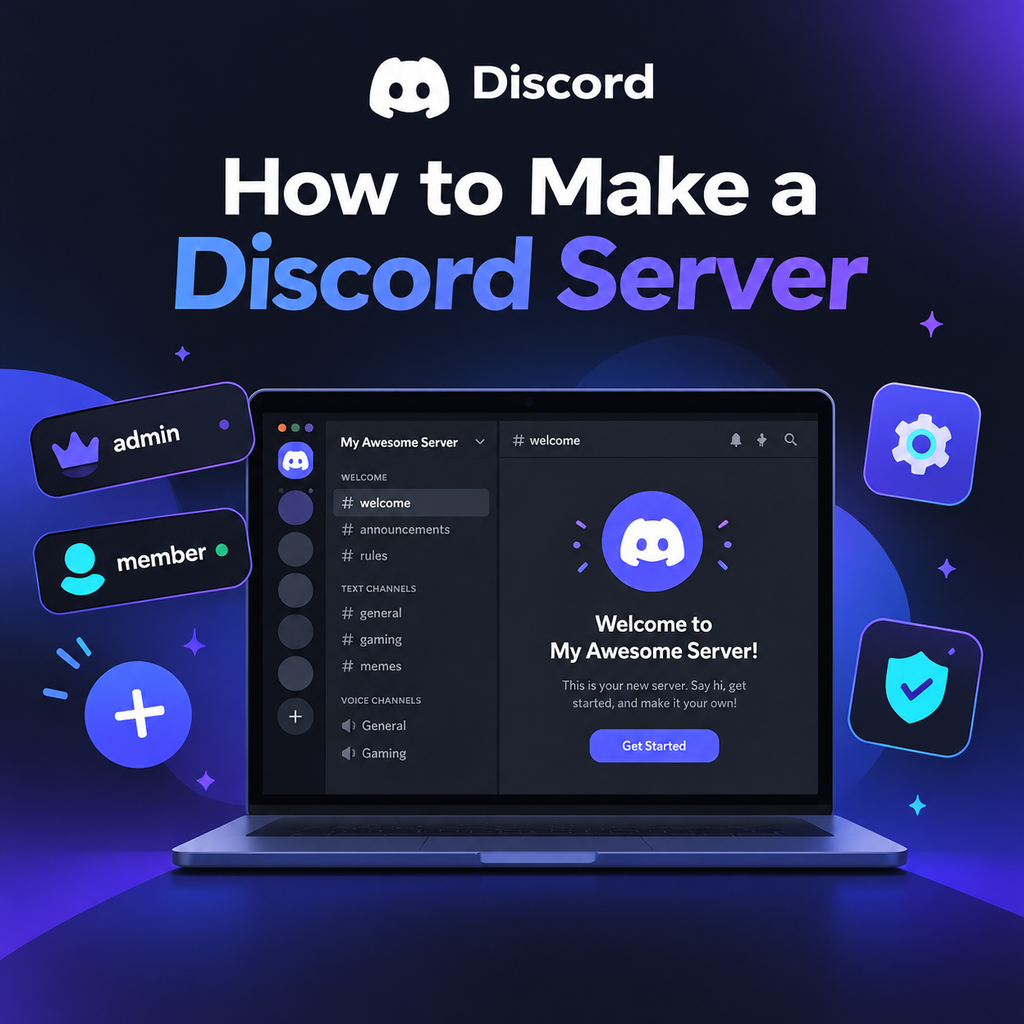
Getting Started: Create Your Discord Server in Minutes
Discord servers are custom-built spaces where you can connect with friends, family, or entire communities built around a shared interest. Whether you're planning a private hangout for your gaming squad or a public hub for your study group, creating a server is quick and straightforward. The entire process takes just a few minutes, and you can always tweak the details later. Let's walk through the essential steps to get your server up and running.
Step 1: Set Up Your Server Foundation
First, download the Discord app or open it in your browser. Once signed in, look for the Add a Server icon—a plus symbol typically found at the bottom of your server list on the left. Click it, and you'll be presented with options: Create My Own or Start from a Template. For most users, creating your own gives you full control. Next, choose whether your server is For me and my friends (private) or For a club or community (public). This choice affects default permissions but can be adjusted later. Then, name your server and optionally upload an icon. The icon should be at least 128x128 pixels, but a square image of 512x512 works best. Finally, click Create, and your server is live with default channels like #general and General voice.
Pro Tip: Don't Overthink the Name and Icon
You can change both at any time in Server Settings, so pick something simple and get started. The real magic happens as you customize.
Step 2: Design Your Channel Structure
Channels are the heart of your server—they organize conversations by topic. New servers often suffer from too many channels, which can make the space feel deserted. Start with a minimal set: a welcome channel (#rules, #announcements), a general chat (#general), a media channel (#media), and a couple of voice rooms. Use categories to group related channels; right-click the channel list to create a category, then drag channels into it. For example, create a 📢 Welcome category with #rules and #announcements, a 💬 Chat category with #general and #media, and a 🔊 Voice category with Lounge 1 and Lounge 2. As your community grows, you can add more channels based on demand.
Best Practices for Channel Organization
- Keep it simple: Fewer channels mean more focused conversations.
- Use categories: They prevent clutter and help members navigate.
- Add channels gradually: Only create a new channel when an existing one gets too busy.
Step 3: Master Roles and Permissions
Roles define what members can see and do. Discord's role hierarchy is top-down: roles higher in the list have more power. Go to Server Settings → Roles to create roles like @admin, @moderator, @member, and @unverified. Assign permissions carefully—give each role only what it needs. For instance, @moderator might have kick, ban, and manage messages, while @member has basic access. A common pitfall is granting Administrator to everyone; avoid that unless absolutely necessary. Also, remember that bots need their roles positioned above the roles they manage. This simple step prevents many headaches later.
Channel-Specific Permissions
You can override role permissions per channel. For example, in #announcements, set @everyone to read-only, so only staff can post. Right-click a channel, select Edit Channel → Permissions, and adjust as needed. This is how you create private staff channels or restrict access to certain areas.
Step 4: Configure Server Settings and Safety
Before inviting anyone, head to Server Settings → Overview. Set the verification level to at least Medium (requires a verified email) to deter bots and raids. Under Safety Setup, enable AutoMod and set up filters for spam and explicit content. Also, set default notifications to Only @mentions so members aren't overwhelmed by pings. These small tweaks go a long way in maintaining a healthy community.
Step 5: Enhance with Bots and Welcome Messages
Bots add functionality like moderation, music, and games. Invite a few essential ones: a moderation bot (e.g., Dyno), a reaction-role bot (e.g., Carl-bot), and a welcome bot. When inviting, grant only necessary permissions—never give Administrator unless you trust the bot completely. After adding, drag the bot's role above the roles it needs to manage. Also, write a welcoming message and pin it in #rules. Keep rules concise and clear; a wall of text won't be read. A simple set like "Be respectful, no spam, stay on topic" works well.
Testing Your Setup
Before sharing your server, test it with an alt account. Join as a new member and check that you can see the right channels, that permissions work as intended, and that bots function correctly. Fixing issues now is much easier than after you have a hundred members.
Step 6: Invite Members and Grow Your Community
Invite friends via the Invite People button or by creating an invite link. For private servers, use single-use invites that expire in 24 hours. For public servers, you can create a permanent invite. Share it on social media, relevant subreddits, or Discord server listing sites. The first few members are crucial—seed activity by chatting regularly and hosting events. Consider adding a vanity URL once your server reaches Boost Level 3. Remember, a server thrives on engagement: schedule game nights, movie watch parties, or study sessions to give members a reason to return.
Creating a Discord server is just the beginning. The real art lies in nurturing a space where people feel welcome and excited to participate. By starting simple, focusing on your community's needs, and iterating based on feedback, you'll build a vibrant hub that stands the test of time. So go ahead—hit that plus button and start your journey today!