

 Русский
 Turkish
 Português (Brasil)
 한국어
한국어 العربية
 Español
 ไทย
ไทย Tiếng Việt
 Français
 中文
中文 Deutsch
 Bahasa Indonesia
 Italiano
 日本語
日本語 Polski
 Українська
 فارسی
فارسی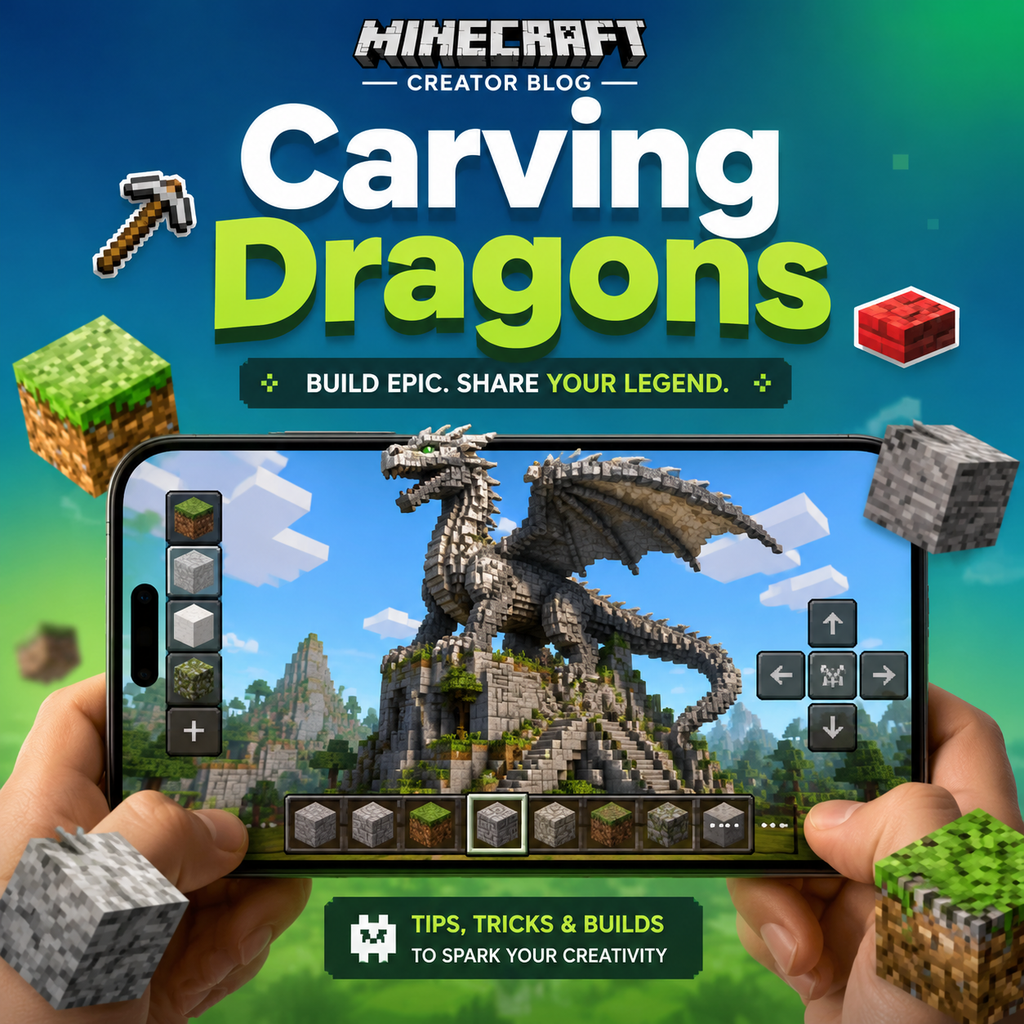
The Art of Dragon Sculpting in Minecraft
Ever marveled at a towering dragon statue in Minecraft and wondered how someone crafted it block by block? It's more than just stacking blocks—it's a blend of sketching, spatial reasoning, and an eye for detail. Whether you're a beginner looking to build your first dragon or a seasoned builder aiming to refine your craft, these techniques will help you carve out your own mythical masterpiece.
Start with a Vision: Sketching Your Dragon
Before you place a single block, visualize your dragon. A quick sketch on paper or using a pixel art tool helps you map out the silhouette and key features. As one tutorial suggests, don't overcomplicate the sketch—you'll be pixelating it later anyway. Focus on the overall pose: is your dragon coiled, flying, or perched? This initial blueprint saves you time and materials by guiding every placement.
Pixelating the Sketch
Once your sketch is ready, convert it to a pixel grid. Tools like Spritecraft can transform a simple PNG into a Minecraft blueprint, but you can also do it manually. The trick is to use darker blocks (like coal ore or dark oak) to outline the shape, preserving the dragon's form. This step ensures your statue has a solid foundation and recognizable silhouette.
Building the Framework: From 2D to 3D
With your 2D sketch pasted or plotted, it's time to give your dragon depth. Start with the body's core—the neck and torso—using a 'ribcage' approach. Just like building a ship, lay down rows of blocks to create a skeletal structure. This framework supports the outer layer and gives your dragon a natural curve. Don't rush this part; a sturdy skeleton makes adding details much easier.
Choosing the Right Blocks
Block selection can make or break your dragon. For a classic stone dragon, mix stone bricks, cobblestone, and andesite to add texture. Overgrown dragons look great with mossy variants and patches of grass. If you want a fiery beast, consider magma blocks for the eyes or netherrack for a molten effect. The tutorials highlight using diorite stairs for claws and red sandstone for a desert-dragon vibe. Get creative—there's no wrong choice, only different atmospheres.
Detailing: Bringing Your Dragon to Life
Now for the fun part—adding character. Start with the head: the jaw, horns, and eyes. Position the eyes carefully; they draw the viewer's gaze and convey emotion. For an overgrown look, scatter grass blocks and tall grass around the base and even on the statue itself, as if nature is reclaiming it. Vines and bushes can be placed strategically to mimic where plants would naturally grow. The wings deserve special attention too—use a mix of slabs and stairs to create webbing and movement.
Adding Depth with Textures
Don't just stick to flat surfaces. Use stairs, slabs, and walls to add dimension. For example, anvils or buttons can simulate scales, while fences can create a spiked tail. In one tutorial, the builder used diorite stairs for claws and diamond blocks as temporary markers—always plan for adjustments. The asymmetry is your friend; natural creatures aren't perfectly symmetrical, so vary the block placement to add realism.
Advanced Techniques: Going Beyond the Basics
Once you've mastered the basics, push your skills further. Consider building a dragon in survival mode, gathering resources as you go—this adds a layer of challenge and satisfaction. Or try a dragon in flight, with wings spread wide and a tail swooping. You can even incorporate redstone for glowing eyes or a fire-breathing mechanism (though that's quite advanced!). Experiment with different scales and styles, from chibi dragons to terrifying beasts.
Final Polish: Tips from the Masters
Before you call it done, step back and review. Is the proportion right? Does the dragon look cohesive? Make small corrections as you go—like adjusting a wing or eye—rather than waiting until the end. Use lighting to your advantage; torches or glowstone can make your dragon look alive at night. And don't forget the base: a rocky pedestal or a nest made of netherrack adds context. Finally, share your creation with the community for feedback; there's always something new to learn from others.
Carving dragons in Minecraft is a rewarding experience that blends creativity with technical skill. By following these steps—sketching, framing, detailing, and polishing—you'll transform a pile of blocks into a legendary beast. So grab your pickaxe, choose your blocks, and let your imagination take flight.