

 Русский
 Turkish
 Português (Brasil)
 한국어
한국어 العربية
 Español
 ไทย
ไทย Tiếng Việt
 Français
 中文
中文 Deutsch
 Bahasa Indonesia
 Italiano
 日本語
日本語 Polski
 Українська
 فارسی
فارسی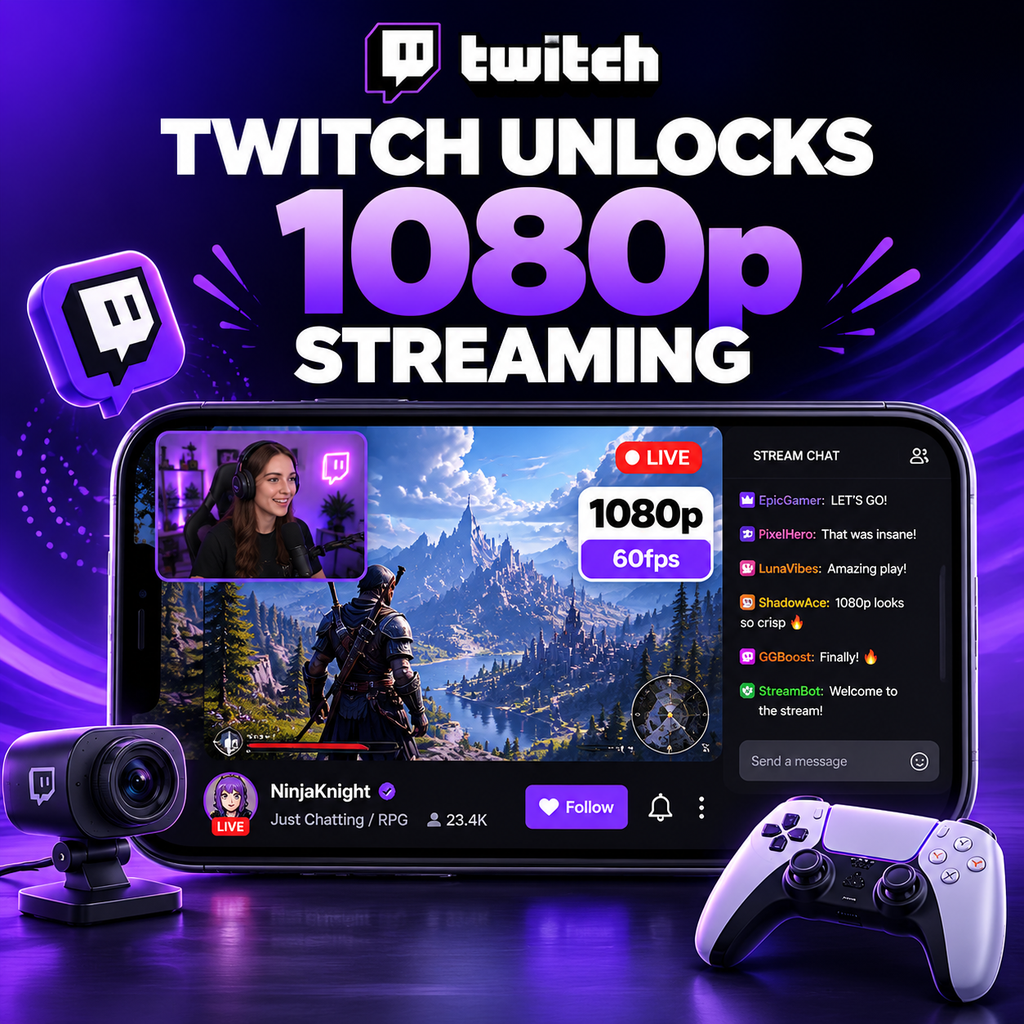
Twitch Finally Unlocks 1080p/60fps for Everyone
After years of confusion and varying bitrate limits, Twitch has officially expanded 1080p/60fps streaming to all users. Whether you're an affiliate, partner, or just starting out, you can now push your streams to the next level without worrying about arbitrary caps. The move comes as part of Twitch's ongoing effort to improve video quality and compete with platforms like YouTube Gaming. Let's dive into what this means for you and how to get the best possible 1080p stream.
Understanding the New 1080p Support
Twitch's previous stance on resolution was muddled. While there were no hard caps on resolution, bitrate limitations made 1080p at 60fps look blurry in fast-moving games. Now, with a recommended bitrate of 6000 kbps and a hard cap around 8500 kbps, you have enough bandwidth to deliver crisp 1080p video. Importantly, this isn't just for partners—any streamer can select 1080p in their encoder settings. However, without transcoding options, viewers with slower connections may struggle, so consider your audience.
Setting Up Your Encoder for 1080p
To stream in 1080p, start with OBS Studio or Streamlabs OBS. In Settings > Output, set your bitrate to 6000 kbps. Under Video, set your Base (Canvas) Resolution to 1920x1080 and Output (Scaled) Resolution to 1920x1080. For 60fps, set Common FPS Values to 60. If you have a powerful GPU, use the NVENC encoder with the "Max Quality" preset. For CPU encoding, use x264 with the "faster" or "fast" preset. Test your stream to ensure no dropped frames due to insufficient upload speed.
Optimizing Bitrate for Quality
While 6000 kbps is the recommended bitrate for 1080p60, you can push higher if your internet and Twitch's cap allow. Many streamers use 8000 kbps for improved clarity, especially in high-motion games. Twitch's hard limit is around 8500 kbps combined for audio and video. Use a bitrate that matches your content: fast-paced games like shooters benefit from higher bitrates, while slower games like puzzles can use less. Remember, your upload speed should be at least 1.5x your bitrate to avoid instability.
Advanced Tips for Better 1080p
If you're still not satisfied with quality, try these tweaks under Output > Advanced:
- Multipass Mode: Set to "Quarter Res" for better allocation.
- Look-ahead: Enable if using NVENC.
- B-frames: Set to 4 for better compression.
- Preset: Use "p7: Slowest" for NVENC or "slow" for x264 if you have CPU headroom.
Also, consider downscaling your webcam to 720p to free up resources. If hardware is an issue, drop to 936p (a common intermediate resolution) to maintain quality without the performance hit.
Common Pitfalls and How to Avoid Them
One major issue is the misconception that higher resolution always equals better quality. With Twitch's bitrate cap, 1080p at 6000 kbps can look worse than 720p at 6000 kbps because the bitrate is stretched thin. Use the Twitch Video Statistics panel to see the actual resolution delivered to viewers. If you see "Source" as 1080p but the bitrate is low, consider lowering resolution to 936p or adjusting encoder settings. Also, avoid streaming games at ultra settings if your GPU can't handle encoding—drop in-game settings for smoother streams.
Embracing the 1080p Future
Twitch's 1080p upgrade is a game-changer, but it requires smart settings to shine. By balancing bitrate, encoder presets, and content type, you can deliver a professional-looking stream. Experiment with your setup, gather feedback from viewers, and adjust accordingly. The key is understanding that 1080p is now accessible, but quality comes from optimization—not just resolution. With these tools, you can elevate your stream and keep your audience coming back for more.